
8 Tips For Better Digital Photos
Whether you consider yourself an amateur photographer or just want to create better family photos, there are many things you can do to get better photos. Here are some simple tips to use the next time you step out with your digital camera.
Even beginners can take professional-quality photos suitable for framing.
Getting Ready
Get all your photography equipment ready for use. Gather everything you need in one place. A camera bag is great because it holds all your things together and allows you to carry it all. Everything has its place. A good camera bag will allow you to organize a miniature tripod, spare batteries, memory cards, and more. – even a plastic bag or waterproof case to protect your camera in wet weather.
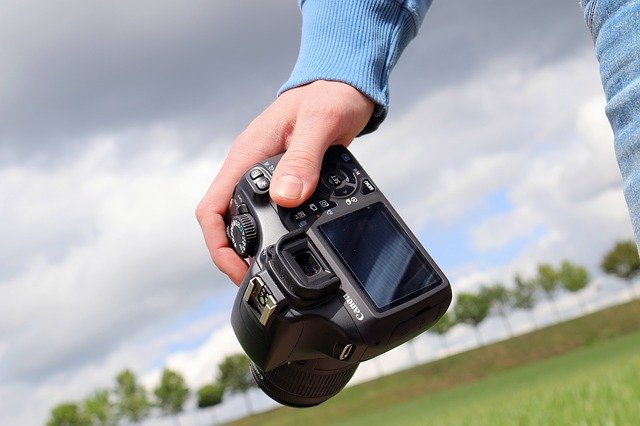
Keeping your camera steady
Blurred photos are almost always caused by camera shake. Your own instability is enough for camera shake to blur your photos.
So stabilize yourself and your camera before taking a photo.
Place your feet firmly on the floor and bend your elbows close to your sides. Instead of using the LCD monitor, hold your camera against your forehead and frame the shot using the camera’s viewfinder. You can also stabilize your upper body by leaning against a wall or tree. Or eliminate camera movement entirely by using a tripod.
Taking a closer shot
One difference between a “snapshot” and a very good photo is the composition of the photo. Unless you’re shooting outdoor landscapes, you can improve most shots by getting closer to your subject. Depending on the situation, you can get closer to the subject or use the camera’s zoom for a similar effect. Try staying within a few feet of your subject to remove most of the background. You will love the results.
Take more photos
Even professionals take lots of photos of the same subject – just to use a few shots. With a digital camera, you can delete images you don’t like and print only the winning ones – so feel free to take multiple photos of the same subject. Change shooting angle. Come a little closer. Adjust the light.
Why not fill the entire memory card with pictures of your kid at the pool or your daughter in her hat and skirt? The more photos you take, the more likely you are to get a few that really interest you.
Changing the light
Using natural light results in better skin tones when photographing people, so try not to use flash if you don’t need it. Outdoor daytime photography is easy, but you’ll need to get a little more creative when shooting indoors. Try using light from a window to get a warmer tone than when using a flash.
Experiment with natural light. You can create stronger shadows by bringing your subject closer to the window, and rotating the subject can create more dramatic shadows.
Red-eye removal
Red-eye is the result of light passing through your subject’s eyes and being reflected. You’ll get it more often when using flash, simply because the light from the flash isn’t as diffused as natural light. So the first tip to get rid of red eye is to simply avoid using flash when you don’t really need it.
Another way to reduce red-eye is to have your subject look anywhere but the camera. This reduces red-eye as any reflections are not directed at your camera lens.
If you must use a flash, some digital cameras have a built-in automatic red-eye removal feature. Use it.
Choosing a candidate
Instead of posing with two (or more) people looking directly into the camera, film them interacting with each other. Even two people talking is more interesting than standing next to each other in front of the camera. Some of the best professional portraits have subjects captured deep in thought, with their attention focused on the inside rather than on the camera lens.
That makes for a more interesting shot. Your portraits will be more natural – less posing.
Creating a Scene
Placing your subject in the center of an image is boring. You’ll get much better results if you’re off-centre of your subject when framing the shot.
This is truly professional engineering. Position your subject so that it takes up 1/3 to 1/2 of the total composition, but NOT in the center of the frame. Capture an interesting background subject in the rest of the frame.
Anyone can practice these techniques. They’re easy, and you’ll get better, more professional-looking photos.